Lisboa Ready Made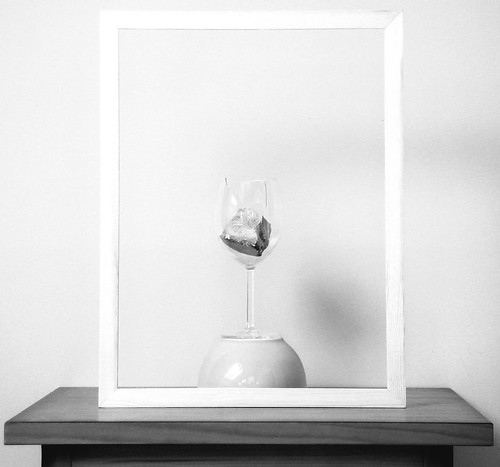
Image by Ramón Peco
Instrucciones para hacer un ready made sobre Lisboa.
Alquile un ático, preferentemente en Paris (Francia), con una habitación de techo inclinado por la cual pueda entrar la luz a través de una ventana. Disponga en esa habitación los elementos que se detallan a continuación.
Sitúe una mesita de noche de madera pegada a una pared de la habitación. Compre dos latas de fabada asturiana con las que regalen un tazón y sitúe este obsequio boca abajo sobre la mesita de noche. Adquiera un marco de madera de 30x40 cm y póngalo en vertical sobre la mesita de noche, justo delante del tazón (tenga un poco de paciencia hasta que logre que ambos elementos queden alineados de manera que el marco se mantenga vertical). Tenga amigos que le regalen copas bastante frágiles de Ikea. Con una de esas copas intente hacer una foto de la misma hasta que accidentalmente se rompa. Una vez tenga esta copa ligeramente destrozada sitúela sobre el tazon. Vaya a Lisboa. Coja una de las piedras del pavimento, preferentemente en el barrio de la Alfama. Una vez que se encuentre de vuelta en la buhardilla situé el adoquín en el interior de la copa de cristal. Hágase con una cámara de fotos y dispare varias fotografías a esta composición valiéndose únicamente de luz diurna.
Un consejo: Ayunar antes de realizar las distintas operaciones descritas puede ayudar a vencer la inseguidad latente en todo el proceso.
Ingredientes:
- Un adoquín del pavimento de Lisboa (Portugal).
- Una copa de cristal rota.
- Un marco de madera de 30x40 cm sin cristal.
- Un tazón de los que regalan con dos latas de fabada asturiana.
- Una mesita de noche de madera.
Ready-Made Frames
Image by veracious jess
Oslo, Norway.
ready made frames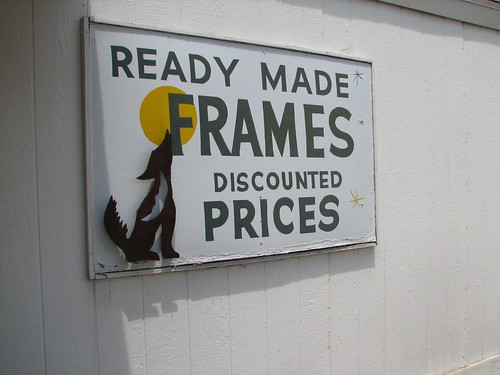
Image by frangrit
Ready to Go
Image by Phil @ Delfryn Design
I have been asked by several people how I create the frame effect used in this picture.
I use Corel Paint Shop Pro X for all my photo editing. If you are not familiar with this software I can recommend it as an excellent value alternative to the full version of Photoshop.The software offers a range of ready made frames, some with the option to select a colour tone from the picture being framed.
After the usual editing the picture needs to be cropped to leave the subject (eg. the bird's head) near the top of the picture. The frame is then selected and the option to put the frame inside the image selected. Paint Shop creates a new layer containing the frame on top of the original "background" image. In the Layers palette, the opacity of the frame layer is then reduced to around 50% allowing the birds head to be seen through the semi transparent frame. The eraser tool is then selected with a slight soft edge and the part of the frame covering the birds head erased. Put the opacity of the frame back to 100% and check carefully at the "join" and make any necessary small amendments. Merge the layers and you are done! It can be a bit fiddly getting the join right, but basically its a simple process. It looks really good printed too.
Kayakamaran!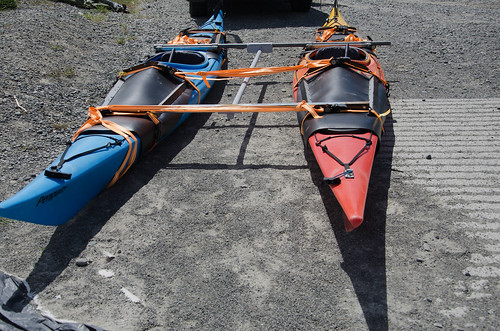
Image by adiemus
Assembled and nearly ready to go.
No comments:
Post a Comment